SHARE

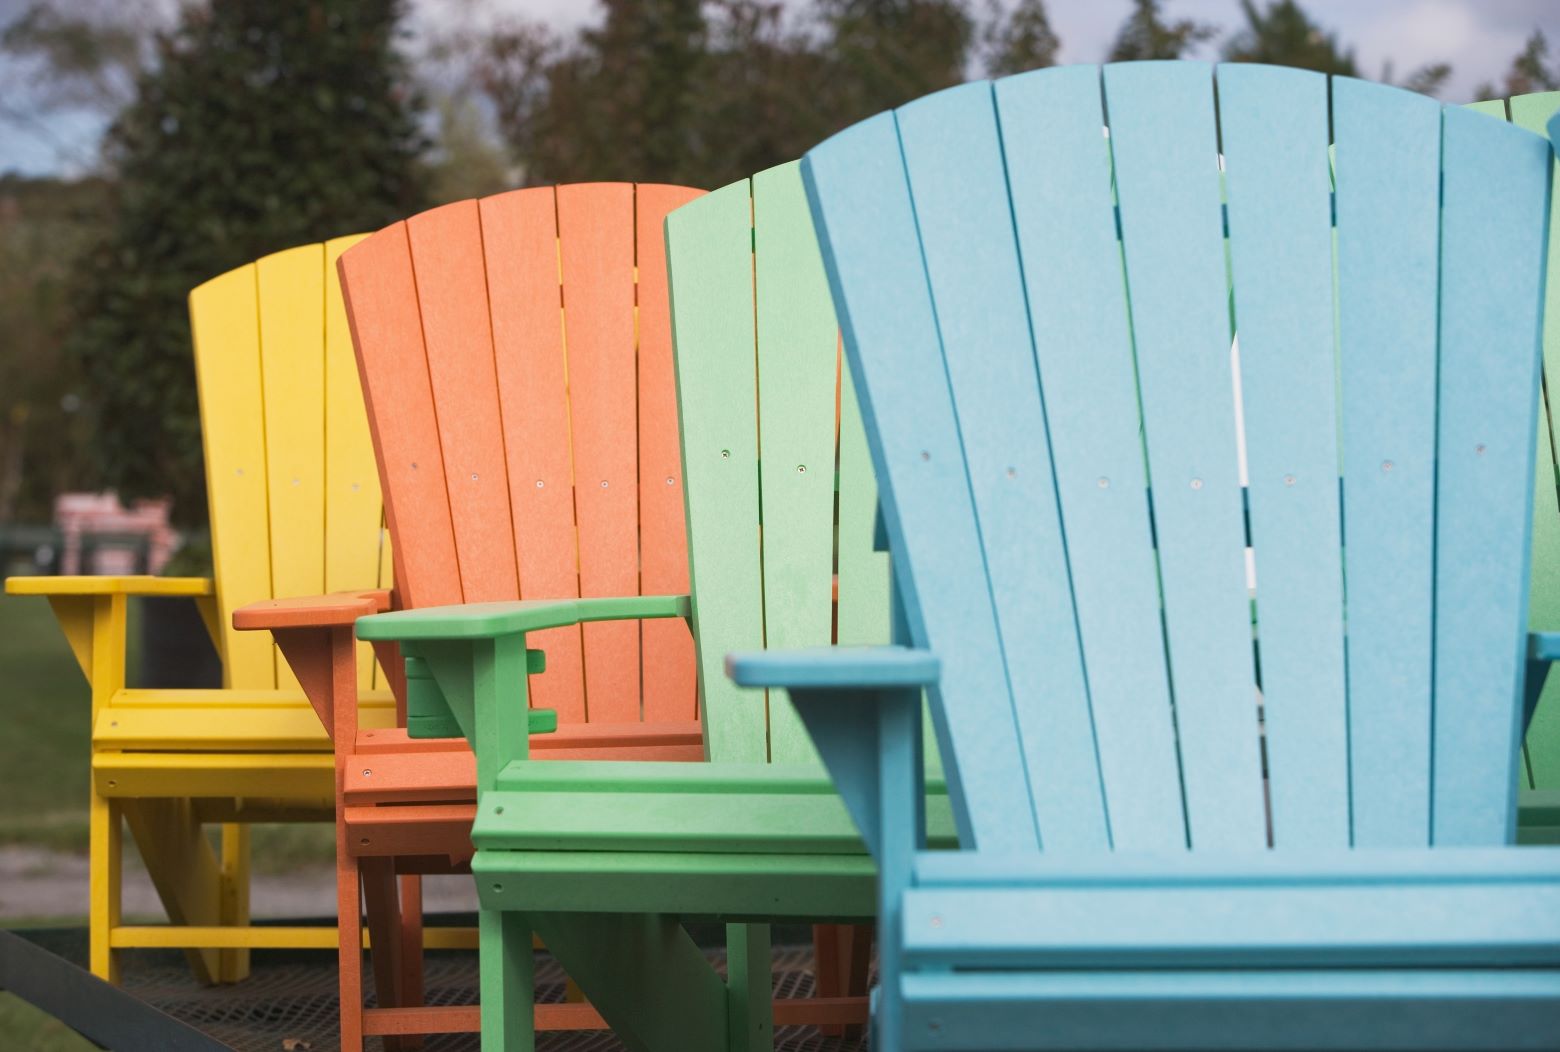
In Australia, outdoor furniture must be tough. From the beating sun to torrential downpours, the exposure to extreme weather conditions can take its toll on these pieces. Timber fades, metal rusts and mould starts to grow.
Eventually, most outdoor furniture will need a thorough clean. But why stop there? Painting outdoor furniture not only makes them look better, but the right formula also provides protection from the elements, keeping them in good condition for longer.
Step 1: Clean and repair
Start by giving your furniture a good wash. This will create a smooth surface for the paint to adhere to.
- Spray it down with water.
- Using a mild soap, scrub everything down.
- If your furniture is woven or rattan, you may want to go in with a bristle brush to get rid of any build up in the nooks and crannies! It can be tedious, but without a proper clean, the paint may not stick
Once your furniture is clean, take this opportunity to repair any damage. If you’re working with wood, check for any chips, holes, or wood rot. If there are any metal pieces, remove rust with a wire brush.
Don’t forget to clean between repairs and allow everything to fully dry before moving on to the next step.
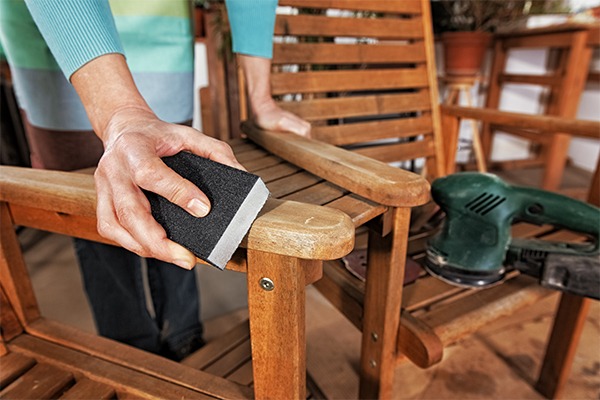
Step 2: Prep and sand
Use sandpaper or stripper to remove any flaking paint. If your furniture has been varnished, give it a rough sand to allow the paint to stick. Use a microfiber cloth to wipe away all the dust.
Wooden furniture is especially prone to rot where they make contact with the ground. To safeguard the legs of chairs and tables, soak the furniture in preservative overnight, allowing the liquid to seep into the wood. In the morning, wipe away any excess drips, and then flip the furniture upside down until it’s dry.
Step 3: Check the weather
Certain weather conditions are not ideal for painting. High humidity prolongs drying time and increases the chance of the surface developing flaws. Ideally, choose a day with mild temperatures and humidity below 50 percent.
Step 4: Select your paint
The right paint formula can really make a difference to the longevity of your outdoor furniture. Given the high exposure to sunlight, rain and wind, it's crucial to opt for a resilient outdoor paint capable of enduring various weather conditions, particularly the Australian sun, such as Taubman Sunproof exterior or Taubmans All Weather.
Additionally, factor in what kind of finish you’d like. Taubman’s Sunproof and All Weather paint comes in low sheen, semi-gloss and gloss to suit every style.
Step 5: Prime
Now that you’ve completed all the preparation, it’s time to start the transformation!
Applying a primer first will create a barrier between the wood and the paint, stopping any potential oil from before seeping into the paint and discolouring it.
First, turn your furniture upside down. Using a brush or a small roller, prime everything you can see at this angle. Focus on giving the underside a good coat, and then allow it to dry for a couple of days.
Turn the furniture right-side-up, and prime everything at this angle, too. This way, you won’t miss anything. Allow a couple of days for this to dry before moving on to painting.
Step 6: Paint
Once the primer has dried, it’s time to apply the paint. Mix your paint with a stirrer before you dive into the first coat.
Follow the same steps as above, flipping your furniture upside down to start. Using a brush, apply the paint to all the surfaces you can see from that angle. You can also go over any flat areas with a small roller to get an even finish.
Let that coat dry, and then flip it right-side-up. Follow the same steps above at the angle you can see now. Leave to dry before applying a second coat.
When you’re finished painting, move your furniture to a covered, dry area with plenty of ventilation. After a few days, it’s ready to use!

Other tips
Use the right tools: For intricate pieces of furniture, smaller brushes and rollers are better. If you have a large area like a tabletop, a paint roller would be the best choice.
Apply paint in thin layers. This allows each coat to dry faster and more evenly.
Now that you’ve given your furniture a good clean and some attention, you’ll likely find yourself wanting to spend more time outside. So, the last piece of the puzzle is to get some cushions and pillows, invite some friends over, and really enjoy your new outdoor space!