SHARE

Revamping your ceiling doesn't have to be a daunting task; in fact, it can significantly enhance the ambiance of your home with minimal effort. This winter presents the perfect opportunity to revitalise your ceiling with Taubmans®.
Keep reading to discover our expert color recommendations and step-by-step instructions below, ensuring a transformation that rejuvenates your space without straining your budget.
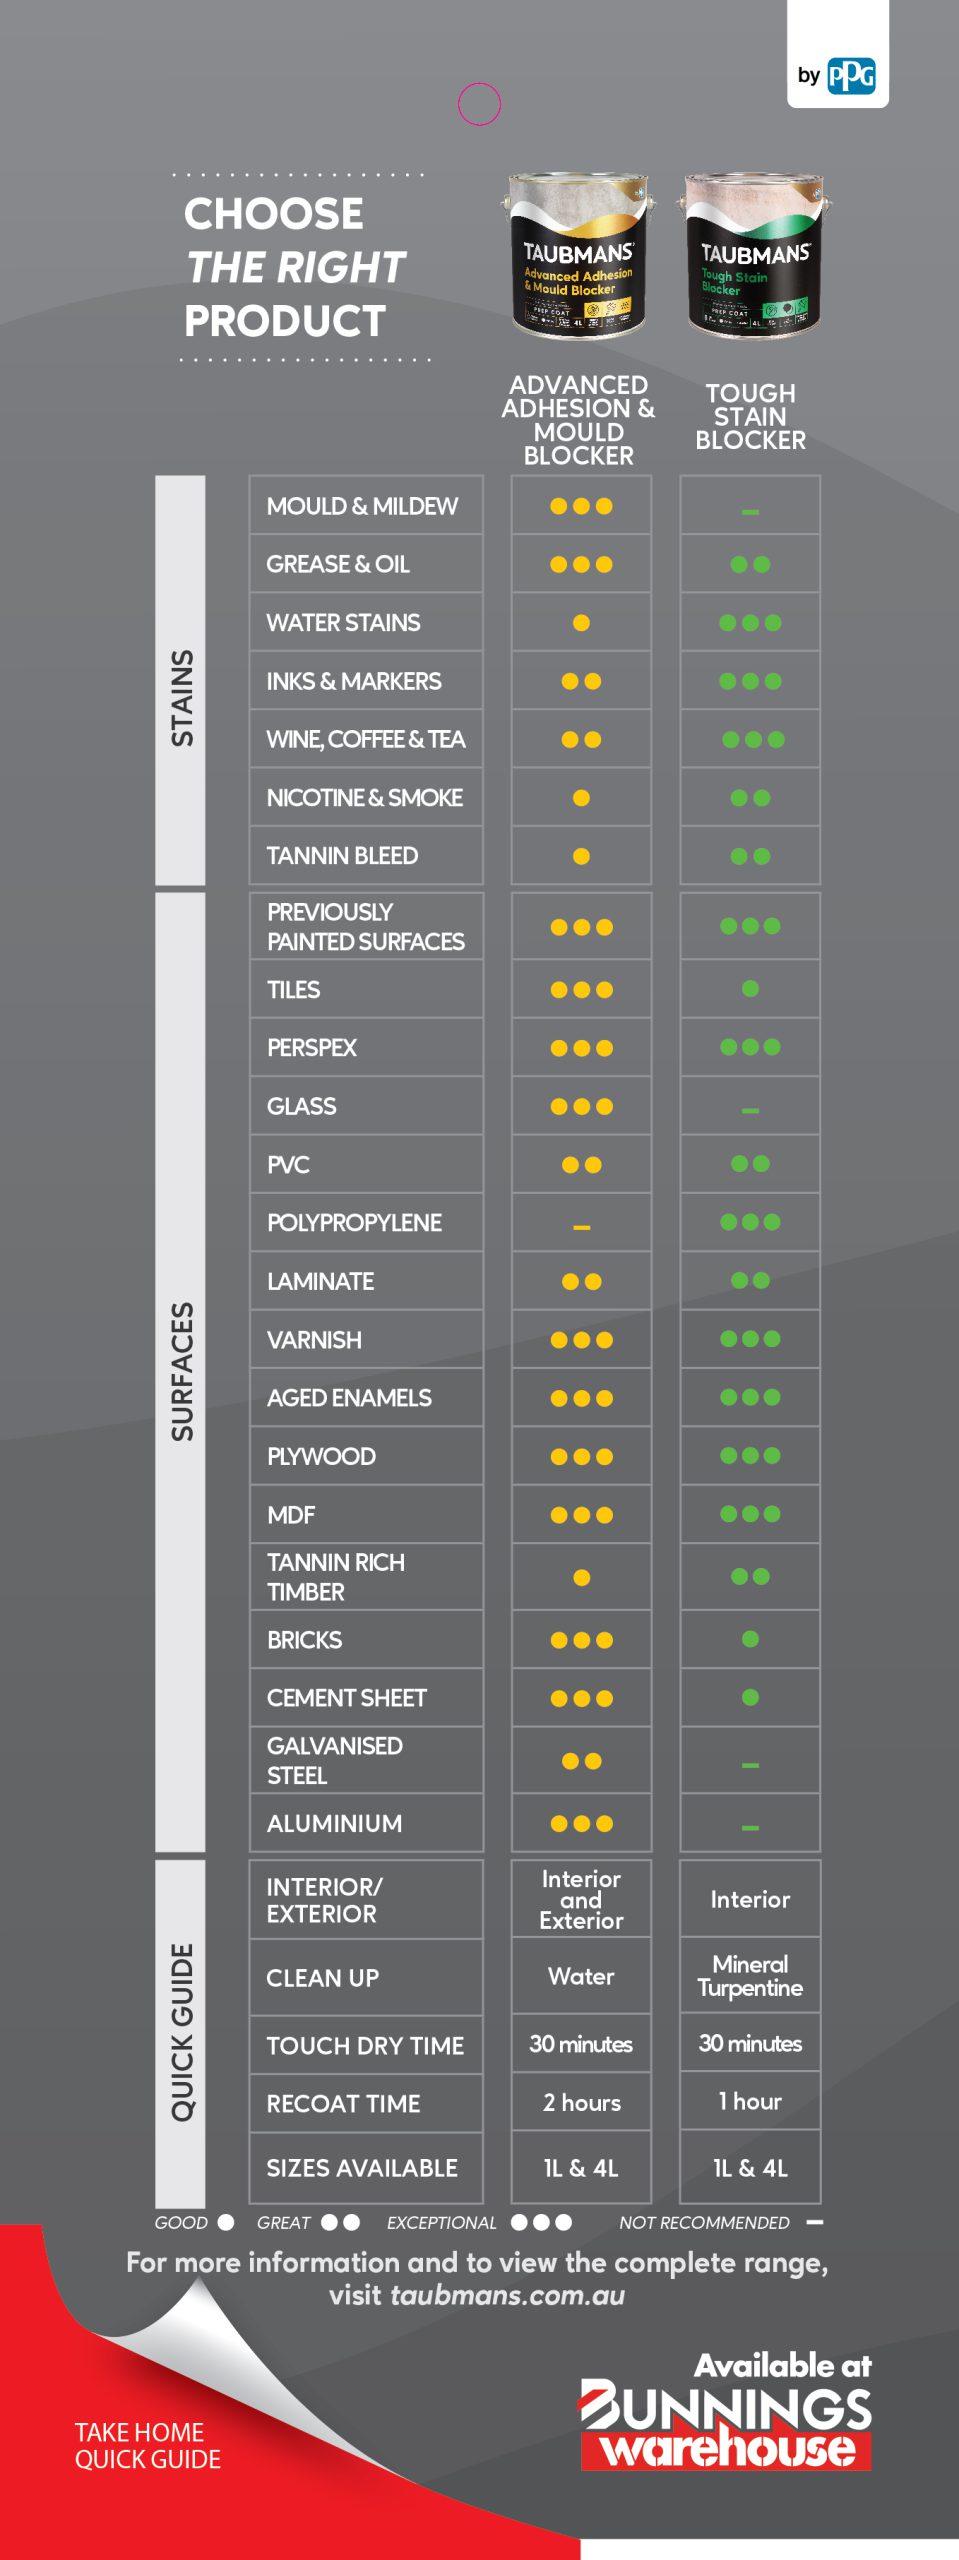
Dealing with Stains
Before diving into the painting process, it's essential to address any stains that may have accumulated over the years. Memories, gatherings, and everyday life can leave marks on your ceiling, but with Taubmans® Advanced Adhesion & Mould Blocker and Taubmans® 1L Tough Stain Blocker, you can tackle these issues effectively. Refer to the table below to identify the ideal product for your specific stain concerns, ensuring a clean canvas for your new ceiling.
Choose the Right Product
Choosing the Perfect Color
Taubmans® Ceiling White is already pre-tinted to the perfect shade for your ceiling to save you time! However, if you're feeling adventurous and wish to elevate your ceiling with a splash of color, explore our carefully curated recommendations below. Selected by our PPG Global Colour Experts, these hues promise to breathe new life into your space. Warm tones can create a cozy atmosphere, especially in rooms with tall ceilings, while cooler tones can make small rooms appear more spacious. Visit your nearest Bunnings Taubmans® Colour Wall to find & sample these colours in a Taubmans Sample Pot.
|
Aria Ivory
|
Bleached Leather
|
Pink Dust
|
Misty Lake
|
Mountain Stream
|
Choosing the Right Accessories
Accessories used can truly elevate the final outcome of your project. That's why we've compiled a list of recommended accessories, all conveniently available at your local Bunnings store.
- Monarch 230mm 8 Piece Walls & Ceilings Ultra Microfibre Painting Kit I/N: 0341476
- Monarch 2.7m x 3.6m Paper Poly Double Strength Drop Sheet I/N: 1662369
- Painters Tape
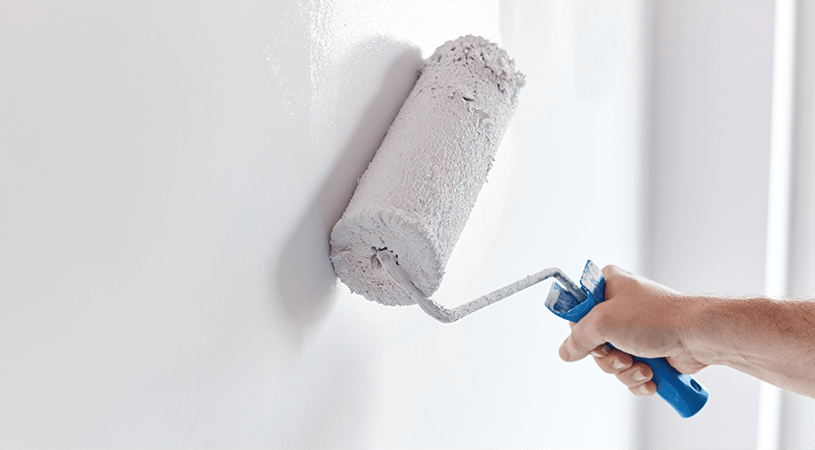
How to paint a ceiling
Once you have chosen your colour, product and accessories it's time to paint.
Step 1: Prep
- Move furniture and items out of the way to avoid paint splatter, if you can’t move them, cover them up with a drop sheet.
- Tape drop sheet to the skirting and make sure to overlap the drop sheets for full protection.
- Apply tape along the upper edges of the walls to prevent paint splatter, and ensure to tape off any fixtures such as light switches for added protection and if possible, remove light fixtures when safe to do so.
- Remove any dust or grime from the ceiling and repair any cracks or holes with caulk or filler. Don’t forget to wipe down any dust after sanding.
- Treat any mould with Flood Mould Action or bleach and overcoat any remaining stains with Taubmans® Advanced Adhesion & Mould Blocker. Refer to back of pack for use.
- If water stains or leakage is present, the source needs to be rectified. Overcoat the remaining water stains with Taubmans® Tough Stain Blocker. Refer to back of pack for use.
Step 2: Paint
- Using the paint brush in your kit, cut in the edges, cornices and around fixtures.
- Using the roller in your kit, apply the paint in 1m grids ensuring to keep a wet edge. Evenly coat the entire ceiling.
- Once dry, repeat the cutting in process prior to rolling the second coat.
There you have it; your refreshed ceiling is ready to impress both you and your guests.