SHARE

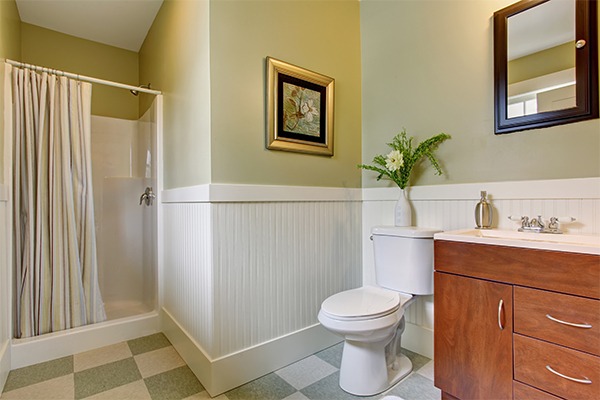
Your bathroom is one of the most used rooms in the house. With the high traffic and humidity, it comes as no surprise that your tiles will start looking a bit tired. You may think that you’re only option is to re-tile, but there is another option: have you considered painting them?
Hear me out – it’s not as crazy as it sounds. Provided it’s done correctly, painted tiles can be just as durable as freshly laid ones. And a big plus point is that it can be done at significantly less cost and effort.
Considerations
Painting bathroom tiles is one of the more unusual, lesser-known DIY projects, so here are a few plus points to consider:
It can be customised. Painting over tiles gives you full creative control over the design, rather than picking a tile pattern off the shelf.
It’s cost-effective. If done right, you can update old-fashioned tiles with a fresh, contemporary look without breaking the bank - all you need to pay for are the products and tools.
It’s durable. Properly painted tiles can last just as long as commercially available tiles. However, if you don’t prepare the surface or apply the paint properly, it can lead to chipping or peeling. It’s also important to consider that paint in areas with high humidity, such as a shower, might not hold up as well.
It can be done fast. Painting your tiles can be much quicker than re-tiling which can put your bathroom out of action for weeks. The process of painting and drying on repeat can take up to a week. If you have the patience and plan ahead, it shouldn’t disrupt your routine too much.
Anyone can do it. You don’t have to be a professional to take on the challenge, just an eager do-it-yourself enthusiast.
Tools you’ll need
After you’ve chosen to go down the DIY path, you’ll need the right tools! Here’s a suggested list of what you’ll need:
- Rollers and brushes
- Trays
- Drop sheet
- Sand paper
- Scrubbing brush
- Microfibre cloth
- Bucket
- Sugar soap
- Mould killer
- Masking/ painter’s tape
- Tile & Laminate paint primer
- Tile & Laminate paint
- Sealant/ polyurethane
- Stencils, if needed
Pick the right primer and paint
If you’re painting your bathroom tiles, what’s our go-to advice? Don't skip the primer! Think of it as laying down a good base before you start painting. The primer forms a layer that helps the paint grip onto the tiles.
Bathroom tiles are not the easiest to paint, so it’s worth investing your time into this step to give your tiles a smoother finish. Try White Knight Renew Tile & Laminate Primer to ensure excellent adhesion to smooth surfaces. It’s water-based, quick drying and resists microbial growth.
Now that you've got your primer sorted, let's pick the right paint.
Painting your bathroom tiles may not be a forever fix. So, it's smart to invest in quality paint that'll keep things looking fresh for the long haul.
Our top pick? White Knight Renew Tile & Laminate Paint is designed to stick to tiles with a hard-wearing enamel finish. Like the primer, it is microbial growth resistant and can handle high moisture areas like a boss. It can also be tinted to the colour of your choice, giving you plenty of options to brighten up your bathroom.
Prep your tiles
Properly prepping the surface of your tiles is crucial, yet it's the step that many DIYers tend to skip or get wrong.
Here's how to do it right:
- Fill in any cracks with grout or poly filler. Smooth it out evenly for a seamless surface.
- Time to get those tiles squeaky clean! Work in small sections, spraying the cleaner about 20 cm away from the surface. Then, use a wet sponge or cloth to scrub away the dirt and grime. For stubborn stains, break out the scourer and give it some elbow grease.
- Once the tiles are spick and span, it's time to sand. Use a 120-grit sandpaper to remove the glaze on the tile. This helps the paint stick better and gives you a smoother finish.
- Wash the tiles again to get rid of any sanding residue, then give them a good rinse. Make sure they're bone dry before you move on to priming and painting.
Paint your tiles
Now you’re ready for the fun part!
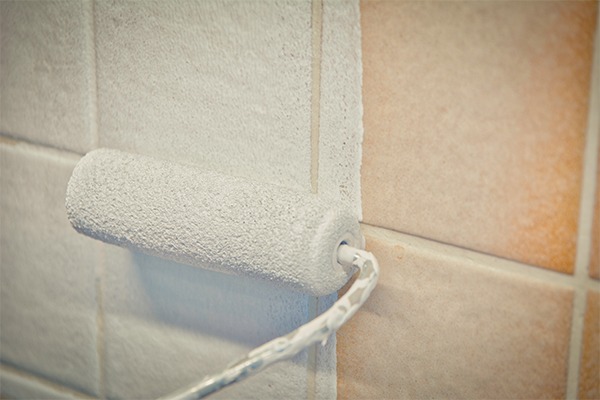
- In small sections, roll on a good layer of primer. Let it dry completely (usually a few hours).
- Using your roller, apply your first coat of paint. Move the roller in a top to bottom pattern to get the most even coverage.
- Allow the paint to dry for a couple of days. Then repeat for a second coat.
- Apply a sealant/ polyurethane over the tiles. You may need 2-3 coats so remember to let each layer dry in between.
- Don’t forget to clean your roller. Allow the primer and paint to dry between coats.
Top tip
Consider refreshing the grout once your painting job is complete, for a contrasting look and a polished appearance.
If you follow the preparation steps above and use good quality products, your newly painted tiles should last a good few years without needing a touch-up. So, for a fun, cost-effective way to refresh your bathroom, consider painting your tiles!