SHARE

Painting the interior of your home is more than just walls
When it comes to painting your home’s interior, you may think it’s a matter of picking a new colour for your walls, grabbing a few foam rollers and bam! Done.
But painting your home is more than just walls. In addition to ceilings and skirting boards, you need to consider important fixtures such as kitchen cabinets, built-in wardrobes and shelving units. Painting timber fixtures, however, are often big jobs themselves. To make things easier, we’ve put together some tips to make this home project run much smoother. Let’s get started!
Prepare your paint and tools
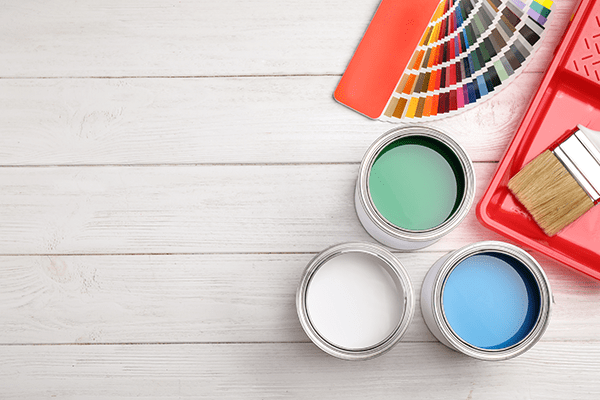
Deciding on a new palette can be overwhelming. Luckily, a paint buying checklist and online tools such as Coloursmith can help. Coloursmith allows you to create your own timber paint colour or match it with an existing one.
But don’t lose sight of practicalities. For high traffic areas like your kitchen, avoid high gloss formulations as they highlight imperfections like scuffs and knocks. Semi-gloss paints are best for high-moisture rooms prone to mould, grease or stains, so they’re ideal for kitchen or bathroom cabinets. Also consider a water-based enamel paint because it dries to a strong, durable finish and is resistant to yellowing.
A low VOC (volatile organic compound) formulation is ideal for those after , paint products with less fumes, less indoor pollution and less harm to health and the environment.
Protect yourself and the room
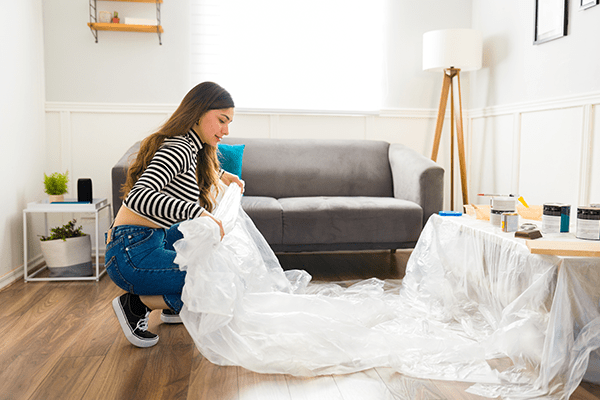
As you would with any interior painting job, cover the floor and nearby furniture with some old sheets or tarp or just plain old newspaper. Get your DIY tools ready and make sure you can access the areas that you need safely. Open the windows and doors to make sure the room is well ventilated and don’t forget your safety goggles and dust mask.
Take the time to use masking tape or painter’s tape around the edges of your fixture. Don’t skip this step if you want clean lines.
Remove any doors, drawers, hardware (this includes handles, hinges and any metal details). More importantly, take note of where doors and accessories belong by labelling or numbering them. This way, you can avoid the inevitable jigsaw puzzle of trying to remember which part went where, just when you thought the hard part (the painting) was over.
Prep and prime the surface
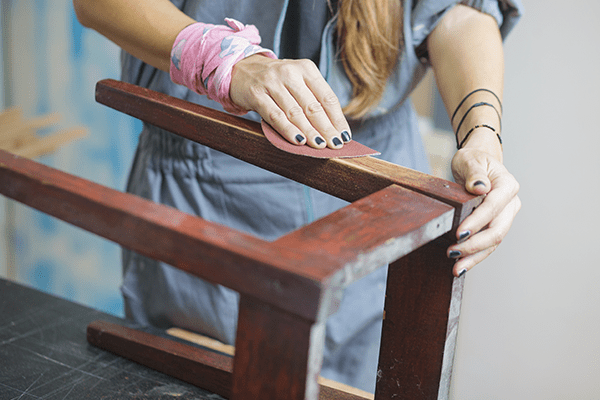
For a truly professional finish, make this the stage you devote the most time to. Remove mould by treating with Anti Mould Sterilising Solution. Sand down your fixture with sandpaper to remove any degraded, loose and flaking paint back to a firm surface or varnish and make the surface as smooth as possible. Vacuum or use a tack cloth to remove as much dust as possible. For the best results, always follow the manufacturer’s instructions on your cleaning product.
Use a putty knife to spread wood filler into holes, scratches and uneven textures. Once dry, give the surface another light sanding and remove the dust. Apply one coat of Taubmans Easycoat Prep Sealer & Undercoat– but you don’t need to do the whole surface. Speed up the process by choosing a fast-drying formulation and only apply primer only to areas that need it. Upon completion of these steps, the surface should be clean, dry and free from all dirt, dust, grease, oil and any other surface contamination.
Now let’s paint!
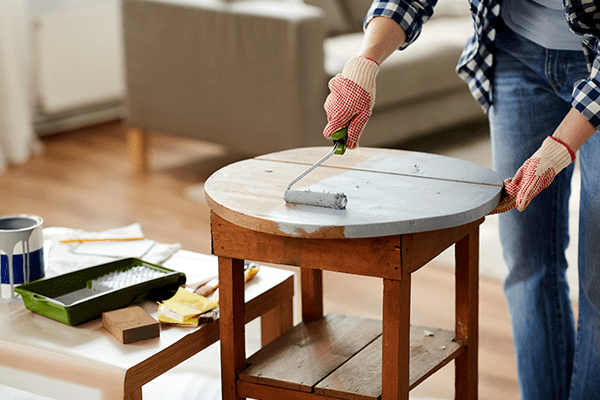
For the smoothest finish, Use a quality brush for edges and paint the larger areas with a mini microfiber roller. It's worth investing in quality tools, as they will make the job easier and deliver better results.
Thin, water-based paints are best applied with synthetic brushes because they absorb less liquid and blend well. For thicker formulations, a natural bristle or waxing brush are better options because they hold more paint and minimise brush marks.
For optimal results while using Taubmans Water Based Enamel on the wooden surface, it's essential to adhere to these instructions: Begin by applying the first coat. Afterward, provide a minimum of 2 hours for this initial coat to thoroughly dry before moving forward. Once the first coat has properly dried, proceed to apply the second coat. Following this, allocate an additional 2 hours to ensure the second coat dries completely and establishes a solid finish. This meticulous process of applying two coats, with ample drying intervals, is crucial for achieving a high-quality outcome.
Painting your wooden fixtures can seem like more work than you signed up for. But including them in your painting plans can bring a real cohesion and a professional flair to your home.