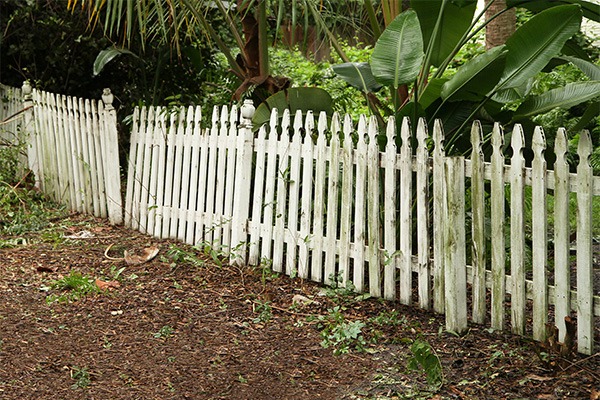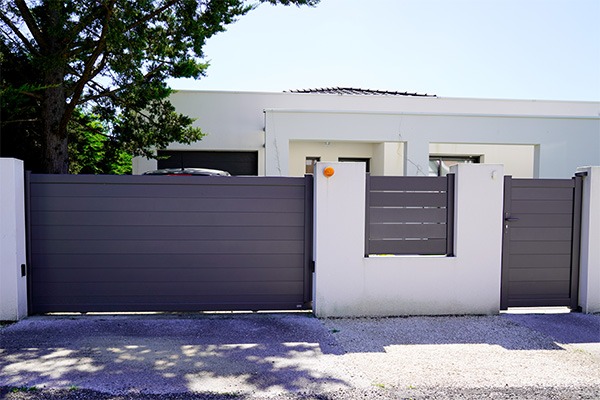
Is your home's appearance being let down by a wooden fence that looks the worse for wear? If the cost of replacing it is putting you off doing something about it, there's a much faster, easier and more budget-friendly solution to making your fence look like new.
Spray painting is a quick and easy way to have your front or backyard looking great again. It's also a better, more practical choice because it the fence’s surface is more thoroughly coated.
Spraying allows the paint to get into deep cracks and grooves for a more even application with no paint brush marks. Just follow these simple steps and in a matter of days, you'll have given your fence a total facelift.
Wait for good weather
You're going to need a few warm, dry, sunny days in a row to ensure your paint job dries and sets the way you want it. Rain or high heat will bring all your good spray work undone, creating an uneven finish.
Prep your fence
As with any paint job, proper preparation is the key to a beautiful and long-lasting finish. Give your fence a good scrub to remove any dust, cobwebs, dirt and flaky old paint. Be thorough. Get into the tight corners to make sure the paint sticks to every part of the fence.
A long handle broom saves you from having to bend down a lot, and for really stubborn areas, a wire brush is the go. You could also use a power washer; however, you'll need to allow enough time for the fence to thoroughly dry before you start painting.
Make any repairs
Once your fence has been thoroughly cleaned, give it the once over and replace or repair any damaged sections and refasten any loose boards. If using glue on repairs, make sure it's waterproof and has thoroughly dried before painting.
Choose the best paint for the job
Priming is usually advised before painting most surfaces, as it creates a layer that paint can adhere to for a finer finish. It also helps fill in the grain and creates a smooth surface for subsequent coats.
However, using a self-priming paint like Taubmans All Weather Exterior paint means one less step you have to do. And in most cases, and less time needed to finish the job!
It's also a great choice for colour-matching, as you can have your Taubmans All Weather Exterior paint tinted to match popular Colorbond® colours at any Bunnings store. So, you're sure to find the perfect colour to match or complement the other Colorbond® colours on your property.
Protect plants and surroundings
Make sure you spray your fence and not every plant, path or wall nearby. Trim back any grass, weeds, trees or bushes that are in contact with the fence. Alternatively, you can wrap-up greenery blocking sections of your fence with some garden mesh, then pull and secure them away from the fence until your second coat of paint has thoroughly dried. If you do get paint on your plants, it can be easily wiped away using a damp cloth when wet.
Cover surfaces under and near the fence with dust sheets or old cardboard and secure with masking tape. And make sure you stay in your neighbours' good books by holding a piece of cardboard up behind the fence when you paint the top third to prevent paint getting into their yard or on their fence!
Do a test
Make sure your paint is thoroughly mixed by giving it a good stir. Pour some into the reservoir of your spray gun and dilute with water, if necessary, according to your spray gun instructions.
Before you begin painting the fence, test the spray gun out on a piece of cardboard or old timber cut offs to make sure it's spraying evenly, adjusting the nozzle until you're happy with the flow.
Spray your way to a new fence
For best results and to prevent paint drips, it's best to spray at a steady pace from a uniform distance of between 20 and 30cm.
When painting rails or in a horizontal pattern, set the nozzle to spray vertically and move the spray gun from left to right. When painting boards or in a vertical pattern, set the nozzle to spray horizontally and move the spray gun up and down.
On uneven surfaces, it's sometimes a good idea to go back over your paintwork in the perpendicular direction e.g. from left to right and then from top to bottom or vice versa. This creates a crosshatch pattern that can eliminate streaks.
To get into tight areas underneath the rails, adjust the nozzle so that it's more of a stream than a fine spray.
It's very important that you allow the first coat of paint to dry completely before applying the second coat.
Looking good
Congratulations on a job well done. Your fence looks like new and will for years to come. Taubmans Nanoguard® Advanced Technology creates a protective shield so dirt can be washed away without compromising the finish, and it provides UV protection from the sun to prevent chalkiness.

 Back to Colour Together page
