SHARE

If your furniture feels tired and outdated, but buying new is too expensive – try repurposing your existing furnishing with a pop of colour and watch your space transform.
Upcycling furniture is a great way to keep your home looking modern with different colour trends. Whether you are painting one statement piece or giving the illusion of matching sets – updating furniture with a pop of colour will make a world of difference.
Create Statement Pieces
Painting your existing furniture means endless possibilities to customise an aesthetic for your room. You can choose to paint one piece of furniture in its entirety or contrast different sections to really make a statement (think table legs or cabinet doors). Our tip – pick an anchoring piece such as a hallway table or chest of drawers for a loud statement and replace any old handles or legs with modern ones (pick up from your local Bunnings or hardware store) for furniture that feels brand new!
2020 is seeing jewel tones become very popular. Our Leaping Lizard or Blue Lagoon are beautiful jewel tones to add sophistication and depth to any statement piece.
Another design trend making a comeback is matched sets. Most people accumulate different furniture overtime with the mismatched, eclectic look not being your intended effect. Whether you are wanting all of your furniture to be a uniform black or a co-ordinated accent colour like our Blushing Peach, decorating your furniture together can make your room feel like it was designed by professionals.
Use Stencils
If you don’t want to commit to painting a piece of furniture all one colour, stencils are a great way to add a point of difference to your room. Painting stencils on existing furniture is an easy way to update and re-decorate rooms for kids (who often change their mind on their favourite themes and colours year to year) without spending huge amounts of money on each design phase.
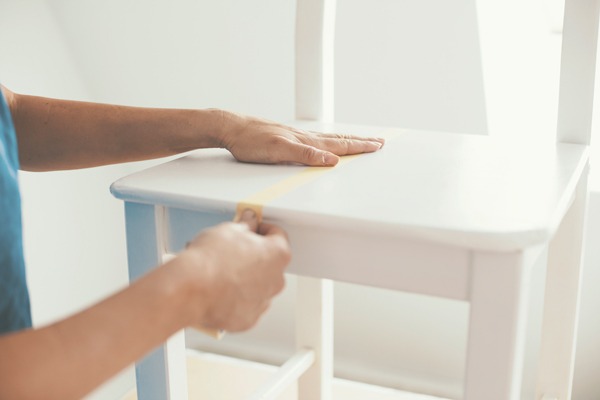
Prepping Your Furniture
Before painting anything, always prep your surface. Prepping before painting your furniture can be the difference between an amateur and a professional job. Before you begin your DIY project:
- Get a drop sheet – Be sure to place a drop sheet or other protective material underneath your chosen project to avoid getting paint anywhere but your project (ideally move the furniture outside for extra ventilation).
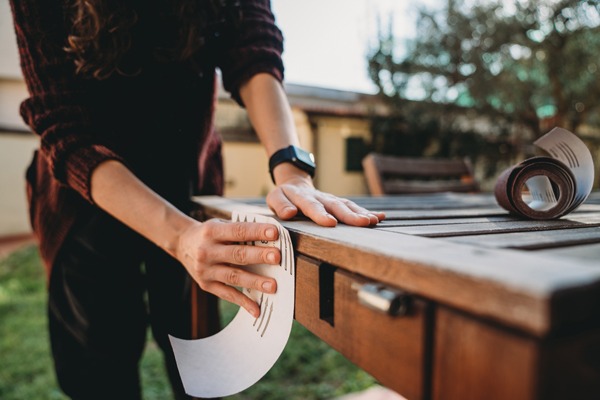
- Sanding – This is one of the most important steps when painting furniture, as it helps to remove existing paint/varnish and gives your primer/paint something to adhere to. Be careful not to damage the furniture and use either 80 grit sandpaper for varnished surfaces or 150 grit for the unfinished wood.
- Wipe the Surface – Wipe down any residue left from the sanding with a lint-free cloth (ideally a tack cloth).
- Primer – The final step before you begin is to prep your furniture with a primer to make sure your old surface doesn’t bleed through to the new paint and helps the paint adhere to the furniture properly. Our Taubmans 3 in 1 is perfect for priming timber or existing enamel surfaces.
- Finally – Paint with a quality product for a long-lasting finish like our Taubmans Ultimate Enamel.
Make sure to check out our full colour range for DIY ideas. Good luck, and happy painting!