SHARE

Not keen on spending a small fortune to get your ceilings done?
Luckily, the DIY option can provide you with a sleek, professional finish without the cost. You just need to plan a bit ahead of time. With the right tools and supplies, you can easily paint the ceiling yourself. Let's take a look at the steps to get that flawless finish.
What you will need - tools and materials
Before you begin, let's gather all the tools and materials you need, so you can save some trips to the paint or hardware store and enjoy the DIY painting experience. To paint your ceiling, you will need :
- Paint Roller
- Paint Roller Covers
- Paint Roller Frames
- Extension Pole
- Paint Tray and Liner
- Paint Brush
- Ladder
- Bucket
- Painters Tape
- Drop Cloths
- Duster
- Cleaning Gloves
- Safety Glasses
- Ceiling Paint
- Primer
Tips on selecting the right paint for your ceiling
Understand your paint before you buy and choose the one that is fit for purpose.
Ceiling paint is not the same as your wall paint. The high viscosity prevents dripping, and the low sheen hides imperfections. It is an interior paint formulated for ease of use, durability and coverage.
Choose from a range of Taubmans® ceiling paints with low VOC, anti-microbial and Nanoguard® Advanced Technology, available in thousands of colours. All Taubmans ceiling paints are approved by the National Asthma Council Australia's Sensitive Choice® program.
Let there be colour
White tends to be the default choice when it comes to ceilings since most people don't think much about the colour. And there's nothing wrong with sticking with the classic white look. However, a coloured ceiling can make your space look more lively and inviting. Your choice of colour can also make the ceiling seem higher. So why not explore a few colour options?
Start by asking yourself a few questions:
• Do you want to use the same colour as the walls on your ceiling, or do you want to contrast it?
• Is the room too small or too big?
• What is the height of the ceiling?
You can choose a light colour in a small room to make it look spacious or a dark colour to make it look cosy. With a large room, you have more freedom to choose the colour.
If you have a low ceiling, consider painting the ceiling in a lighter shade than the walls. This will make your walls look taller. The light-coloured ceiling also offers a contrasting look to your room, and the walls look more attractive.
Paint the ceiling in a darker colour than the walls if you want to create an intimate look. This will create an illusion of a lower ceiling when the ceiling is high. If you have coloured your walls in a shade of white, a coloured ceiling will offer a bold contrast and give your home a fresh look.
Leave the guesswork out and visualise your favourite colours on your ceiling using the Taubmans Colour Visualiser, even before you've dipped your brush.
Now that we've got the colour we want let's roll up our sleeves and get to work.
Step 1: Prepare the ceiling
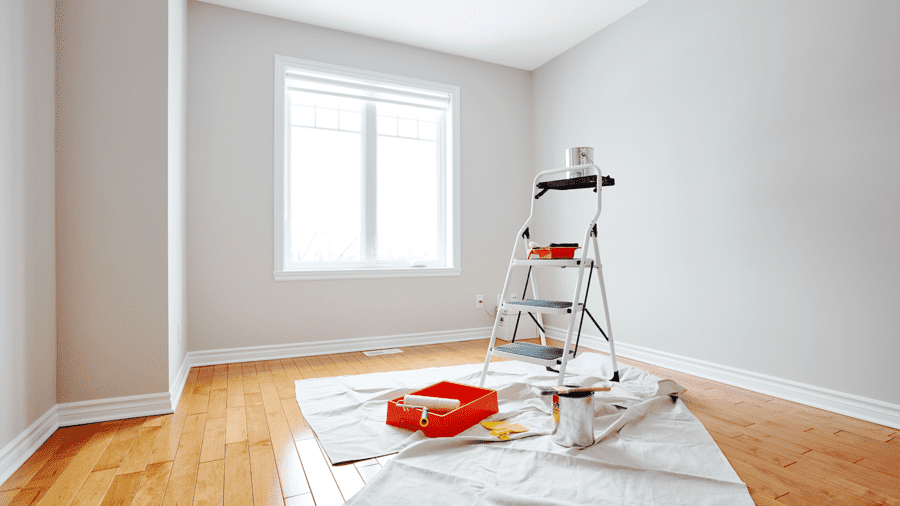
Prep the ceiling and the room so there are no hiccups when you start with the job at hand.
Vacate the room and tape around any ceiling fixtures to avoid splattering them with paint. Look for mould, water leakage or water stains and treat as per respective product manufacturers’ recommendations. Remove any dust or grime off the ceiling and repair cracks and holes with filler or caulk. A good clean is essential, it'll improve the finish and help avoid paint peeling or chipping off later on. While you are doing all this, remember to wear safety goggles and a hat to keep the dust and spatter off your hair and eyes.
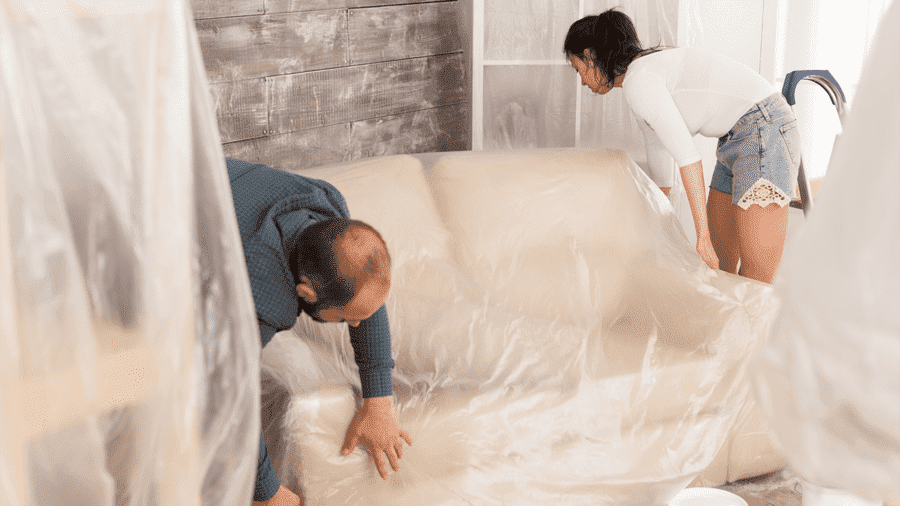
Step 2: Cover up
Paint has a habit of dripping in the most inconvenient places, so cover up anything important! Use drop cloths and plastic sheeting to cover the floor and any big furniture you cannot move. Tape drop cloths to the skirting and overlap the drop cloths for full protection.
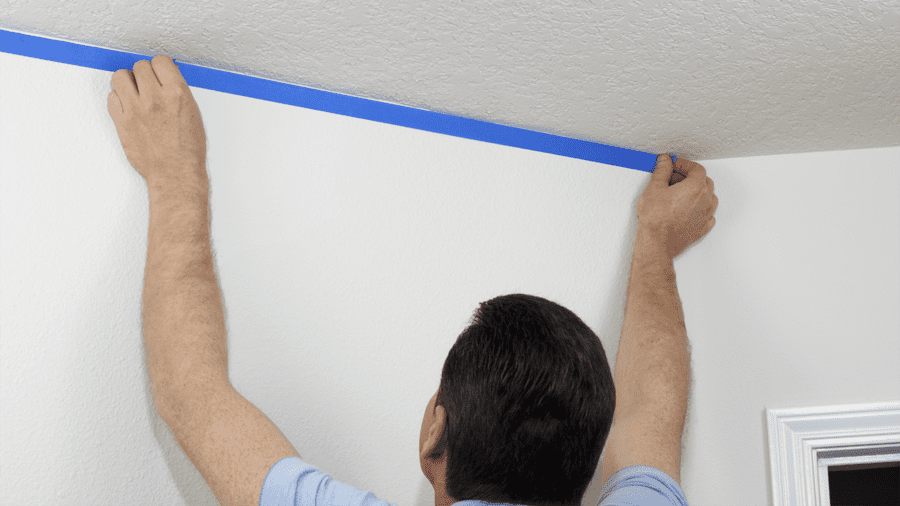
Step 3: Tape the tops of the walls
If you are only painting the ceiling, here's a pro tip: tape the top of the walls. This will prevent the ceiling paint from touching the walls. Use the two-inch wide masking tape for optimal protection. Just our two cents: Use a safe release masking tape, as some masking tapes can become too sticky and may pull the paint off the wall below the cornice line. If you are painting the entire room, you can skip this step.
Step 4: Prime your surfaces
Want to know the secret to a long-lasting and smooth-looking finish? It's the primer! You will need a coat of primer under the paint, so any marks or leakage stains will not bleed through the paint. Use Taubmans 3 In 1 Prep to promote adhesion without sanding to glossy enamel surfaces. Use your roller to prime the ceiling with this all-purpose primer, sealer and undercoat and allow the coat to dry completely before you start painting.
New to using a roller? Read this first
Roller make painting a ceiling far more convenient and can deliver outstanding results. We have some easy-to-follow tips to get you started.
Give the roller sleeve a good clean prior to using it to remove any loose fibre that may be present, wash under a tap and massage fingers through the fibres and then spin dry the new roller's sleeve and fit it to the frame. Pour the paint into a roller tray to make it easy to load the roller. Always dip the roller lightly in the paint to cover almost half the roller and then roll it backwards and forwards on the surface to evenly distribute the paint. Keep changing the direction with each roll to avoid overlap marks on the ceiling.
Use a long nap roller preferably synthetic with a nap size of 15 – 22 mm in pile height. Remember to wrap the roller during breaks to prevent the paint on it from drying out.
Lastly, never roll directly over your head. To avoid strain on your arms, use an extension pole to get the proper grip and angle easily. Smooth, even strokes are key.
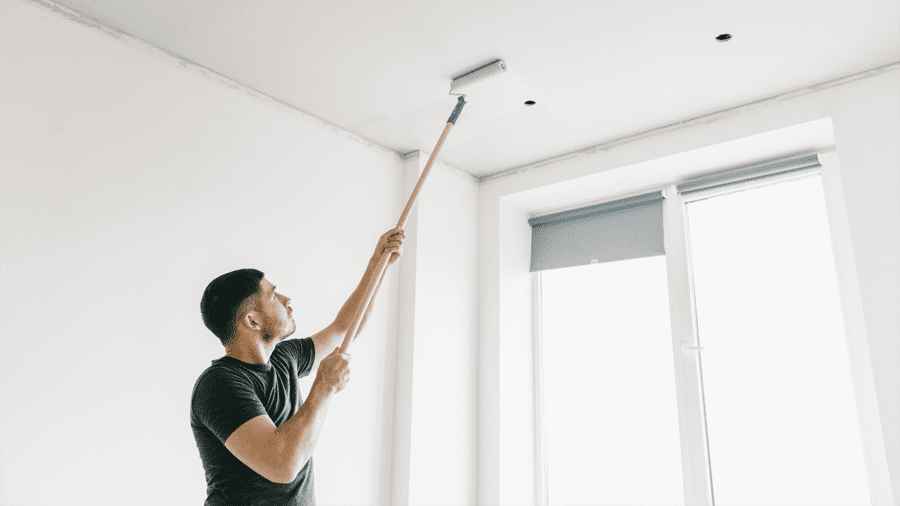
Step 5: Paint in sections
The best way to paint a ceiling is to use the paint roller to work in grid-like sections, starting with the corners and working your way to the middle of the ceiling. This way, you keep the edges wet and can evenly coat the entire ceiling. Once you are done coating all the grids, cut in the edges and blend all the sections for a smooth finish. If you have opted for a bright colour, you may need a second coat to make it stand out. Wait for the first coat to dry before you apply the second one.
And there you have it; your new ceiling should be ready and look absolutely stunning. Well done!
Don't forget to clean up and celebrate
Now that you have mastered the art of painting your ceiling, the next task at hand is to clean up. While we wait for the ceiling to dry, we need to take care of our tools. Clean the rollers, brushes, paint trays, and other tools in warm soap water and let them air dry. Remove the masking tape and mount the ceiling fixtures when the ceiling is fully dry. Finally, clear out the drop cloths and plastic sheets and enjoy your beautiful new ceiling.