SHARE

Your four-legged best friend deserves the very best. A kennel renovation is a perfect way to encourage your pooch to feel confident in their outdoor space. Before you dive into this project, make sure you have planned out your colour palette, assessed the materials you need and whether you have the right products for the job. To help simplify the decision process, here are some tips and tricks for the ultimate kennel overhaul.
Choose your theme
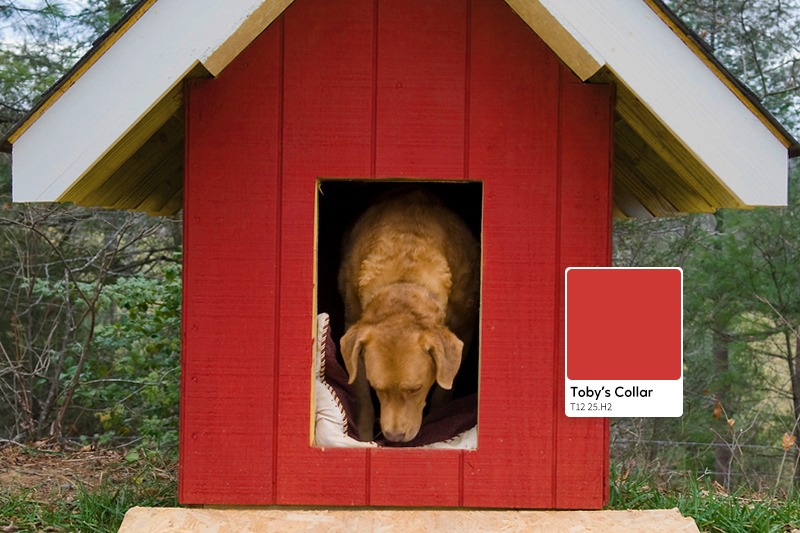
Every good renovation starts with a plan. Whether you want to recreate a miniature version of your house, or reverse the colour scheme (front door, trim, roof, etc.), to keep things uniform. Otherwise, you can make your kennel the star of your backyard with bold stripes, contrasting colours or simply take design cues from some of your fantasy homes. Think doggy Hampton chic, Moroccan pooch escape or New York industrial loft. The best part is, you can enjoy getting as creative as you like.
Consider your materials
No matter what you are painting, an artist is only as good as their tools. Before you head to your local Bunnings or Taubmans' store, make sure you have the right paint to suit the material of the kennel. Some paints are more suited to wood and metal, while others are more suited to plastic. Additionally, you need to make sure the paint you choose is suited for exterior use, to take on the elements. Luckily Taubmans All Weather will cover a range of materials and is designed to keep your paint looking fresh rain, hail or shine.
Additional Add Ons
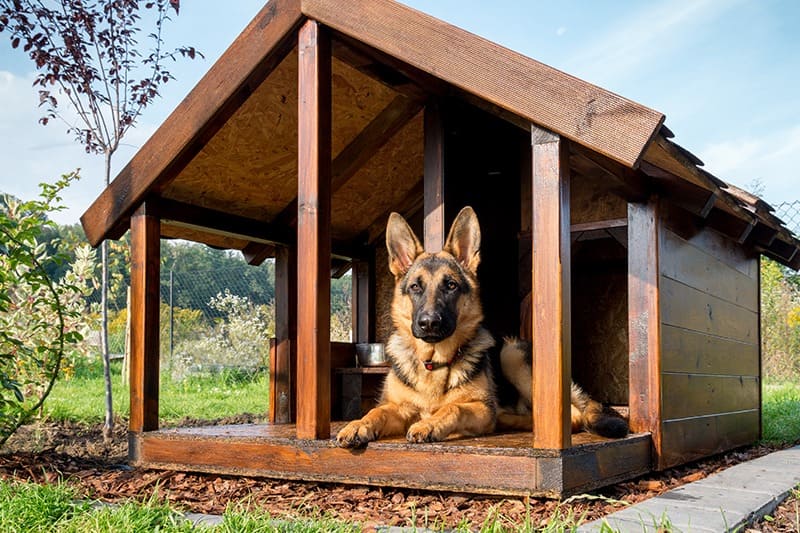
Adding extras to the structure of the kennel will make it an oasis away from vacuum cleaners and loud kids. You could go big with kennel extensions like a ramp and balcony to give smaller dogs a higher vantage point. Or a verandah for added rain protection and Astro-turf for comfort. Or for simpler additions, wooden letters that spell out your dog's name are a nice finishing touch.
What comes first?
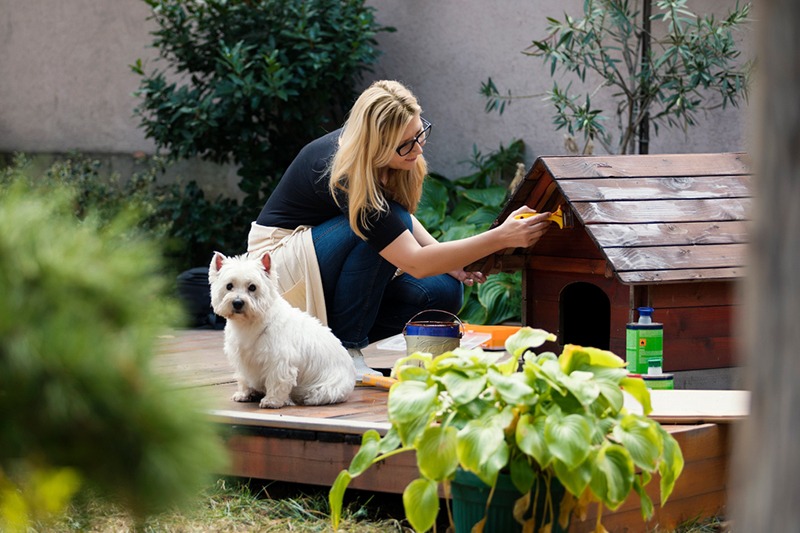
Once you have finished planning out your design, it's time to throw on your painting clothes. To begin:
- Start by taping off any areas on the kennel you don't wish to paint (kennel feet, etc.).
- Follow this up by cleaning the surface of the kennel with a rag to clear off any residual dirt or dust.
- Prime the kennel with a multi-purpose primer like Taubmans 3-in-1.
- If you have chosen more than one colour, start with the lightest colour paint and work your way to the darkest. We recommend using painter's tape to mark out any details or shapes. For any larger shapes or patterns, print and cut out stencils to help with accuracy; alternatively, if you've got a steady hand, you can paint free handed.
- Once the paint has dried on the main section, tape around the outside of the trims and paint in your chosen colour.
- When you have let the final coats of paint dry, add the finishing touches like cushions, water bowls, toys, etc, and let your dog explore its new kennel.
What better way to get your creative juices going, than with this fun weekend project that your dog will love you for. Happy painting!