SHARE

If you are planning your next DIY project, consider painting your indoor walls.
Even a lick of your favourite colour can give your home a dramatic makeover and is easy on the wallet too. Let's take a look at how we can make sure your painting project is a complete success, regardless of which room or wall it is, in just 8 easy steps.
Step 1:
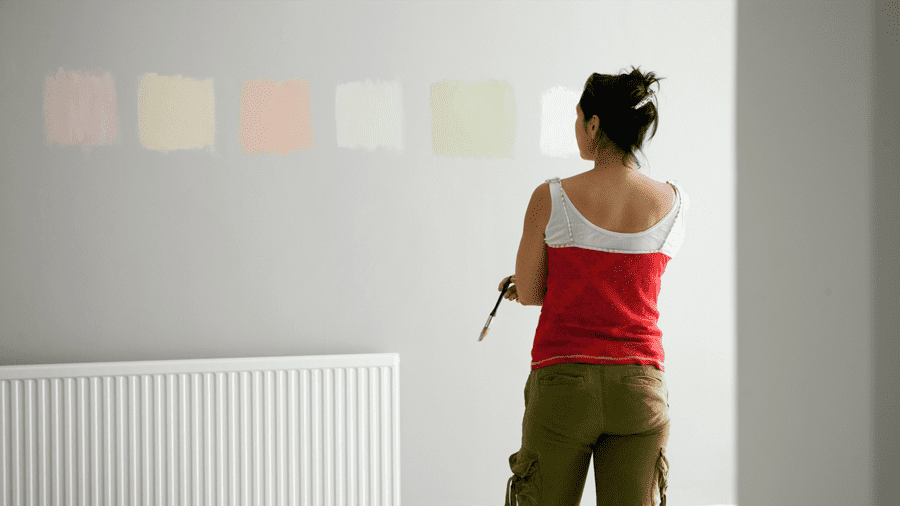
Let's tackle the most difficult part first: deciding on the paint colour. Get some inspiration and colour cues from Living room paint colours for 2022 and Bedroom paint colours for 2022, and order some paint test pots if you are still not sure about the look you’re going for.
Also, always test before you commit. Try out your chosen paint options on a small patch of the wall or paper, stick it on the wall, get a feel for how it’ll look under different lighting conditions, and then decide on the one you want to live with.
Tip: Alternatively, you could also use Taubmans Colour Visualiser to paint your interiors with your shortlisted colours virtually. No mess, no fuss!
Step 2:
Now, let's put together a shopping list of supplies we’ll need to get started:
- Primer
- Paint
- Multipurpose filler
- Putty knife
- Sanding sponge/Sandpaper
- Caulk
- Drop cloths and rags
- Painter's tape
- Paint stirrer
- Paint rollers
- Roller sleeve (a 9-inch nap is best for most projects)
- Paint trays, and a sturdy holder for your paint tray
- Paint brushes for cutting in or touch-ups
- Tack cloth to remove any sanding dust
Tip: Calculate the amount of paint you need to order using the free paint calculator tool from Taubmans
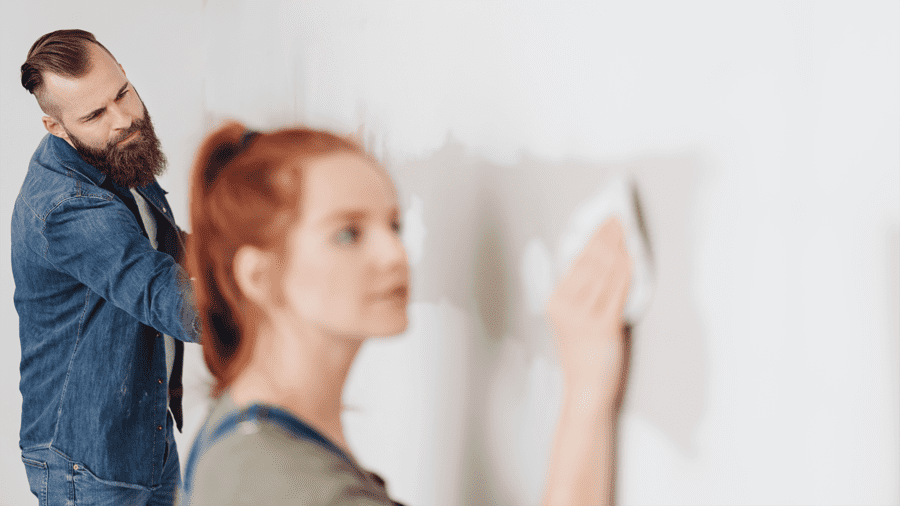
Step 3
Now we roll up our sleeves and get busy. First, complete all prep work, like cleaning the walls and making sure you have all the supplies on hand. If you're painting the wall a different colour to the ceiling or adjacent walls, run masking tape along the edges for a clean finish. Don’t forget to cover switches, sockets and skirting with the masking tape. Move your furniture and place drop cloths to protect your floors.
Step 4
Examine the wall surface for flaking paint, cracks, bumps and holes. Use filler to smoothen them out and seal them up. Once it dries, sand the surface. For flaking paint and bumps, scrape the surface before sanding. Sand the walls using gentle pressure and circular motions, and remove any dust with a tack cloth. This will help the paint stick to the surface and ensure you get a smooth, professional finish.
Step 5
If you're painting over a bright colour, apply a coat of primer first.
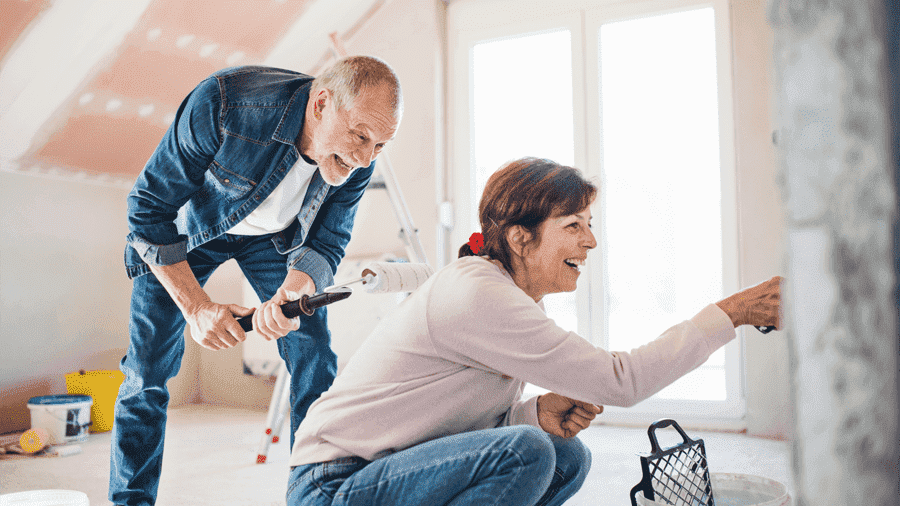
Step 6
Stir the paint thoroughly before starting. Apply the first coat of paint to all surfaces using a roller in a ‘M’ or ‘W’ shaped motion, and complete and edges and corners using a small brush. Depending on the paint surface, additional coats may be required, but wait for at least 12 hours before you apply the second coat.
Step 7
Apply your second coat of paint (or even third, depending on the project). Complete any touch-ups or detail work.
Step 8
Clean your brushes and roller, carefully remove the masking tape, and pack away your dustsheets. Now enjoy seeing your painting prayers answered while the paint dries!